|
|
|
首先,双击打开该软件 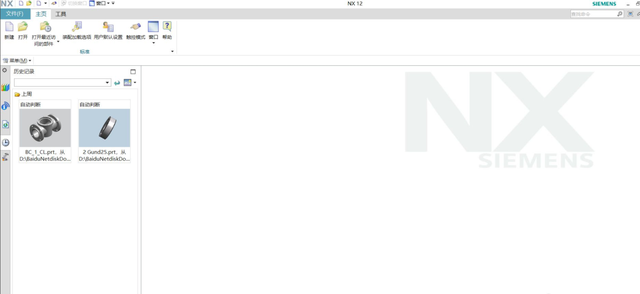
! L/ q4 \; Z! x. b' Y A7 i* M* U8 p9 D1 L% i
然后,新建一个零件  " @3 j# s# G( V/ w4 v/ z " @3 j# s# G( V/ w4 v/ z
' e. k0 i1 ]" y9 e在直接草图中找到圆 
3 N. c; w: j3 [1 w. I
# ]- u9 L3 w3 p* ?! P在XY面画一个圆 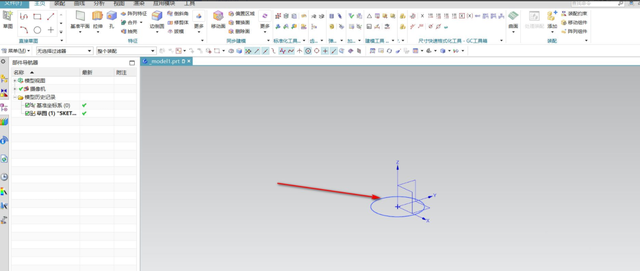
/ h& h, K4 h" h$ t R+ A5 `/ v$ o4 s% R& k
点击拉伸命令条 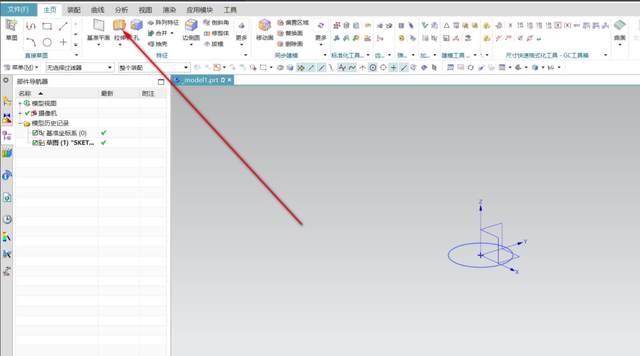 ) ? w5 {! j1 H: ]2 v ) ? w5 {! j1 H: ]2 v
% z) ]4 D0 Y* H! W& _选择曲线和方向矢量,这里选圆和Z轴 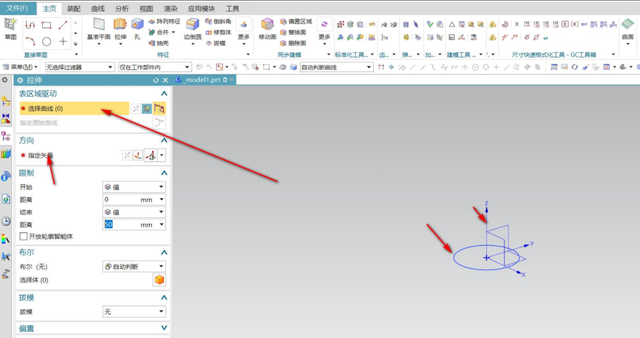
" M, q7 s% M( p/ W* o. P8 q: e+ h1 w" [% h3 ^" H
设置完成后,如图所示 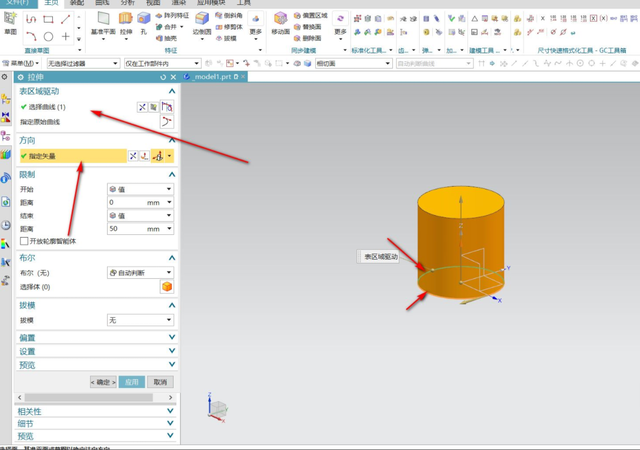 ^) X4 I2 X G ^) X4 I2 X G
" L/ O. h' ]" K' ^* X; K
在限制中将高度设为50 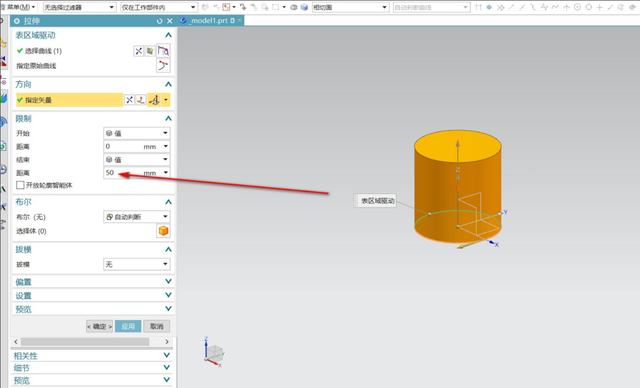 % S/ U4 X" W' y# q$ A- _& b % S/ U4 X" W' y# q$ A- _& b
k, H0 y. S+ ]8 ^6 c2 ?拔模选择从起始限制,角度设为30 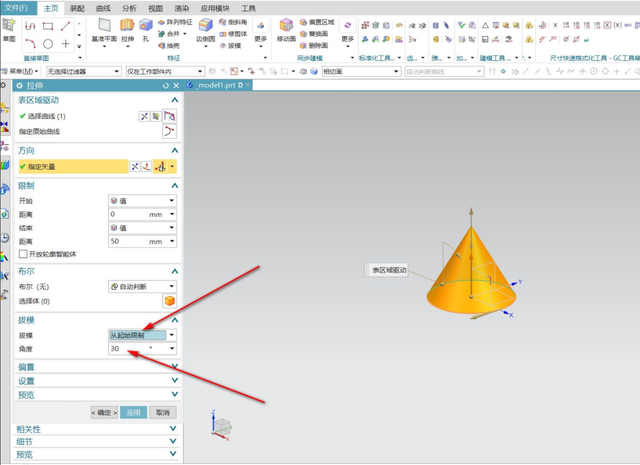
) x% v6 }# T7 v0 y Q! y. \; J4 ]4 U' x
点击应用,即为拔模所得圆锥 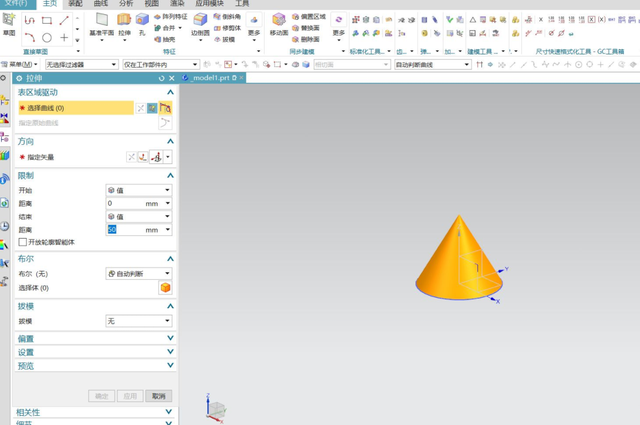 ) i6 w' h' X7 R( a$ q: Y ) i6 w' h' X7 R( a$ q: Y
9 T" Q$ V" m8 z/ p0 ~4 A: T
|
|

 |关于我们|sitemap|小黑屋|Archiver|手机版|UG网-UG技术论坛-青华数控模具培训学校
( 粤ICP备15108561号 )
|关于我们|sitemap|小黑屋|Archiver|手机版|UG网-UG技术论坛-青华数控模具培训学校
( 粤ICP备15108561号 )


 狗仔卡
狗仔卡 发表于 2021-7-11 15:08
 提升卡
提升卡 沉默卡
沉默卡 喧嚣卡
喧嚣卡 变色卡
变色卡 抢沙发
抢沙发 千斤顶
千斤顶 显身卡
显身卡